

The FrankenBride Wall Hanging Crochet Pattern
Hey Guys!
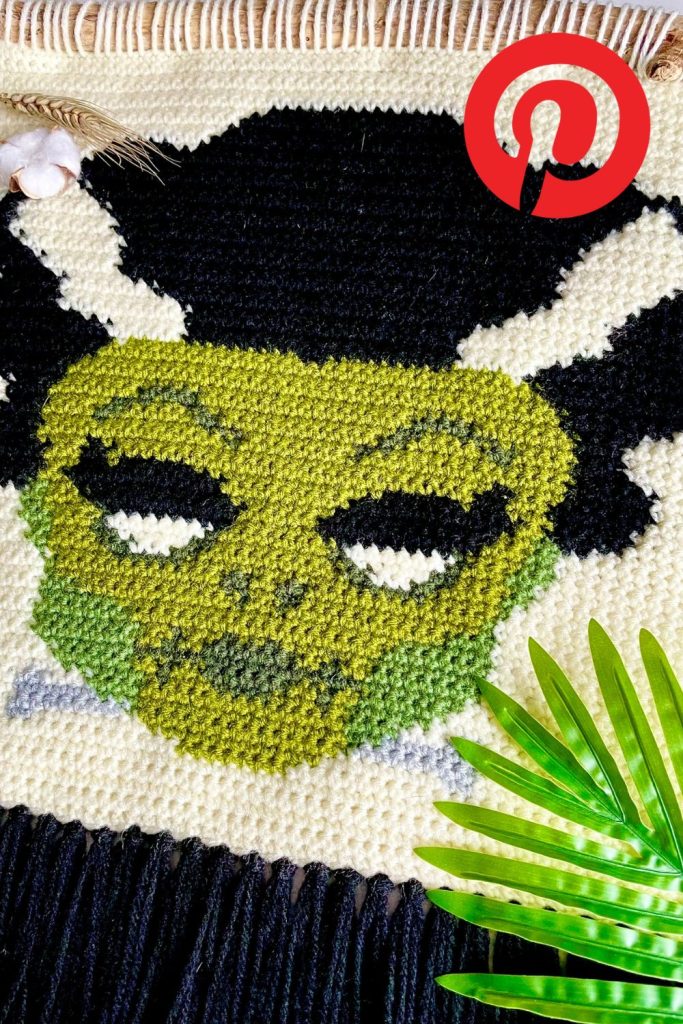
It’s the most wonderful time of the year! And I’m not talking about Christmas, which is my 2nd favorite time of the year. I’m talking about Halloween yall. All the spooky scaries are right up my alley and there is no better original scare then Frankenstein himself. Or better yet his bride! Introducing the FrankenBride Wall Hanging Crochet Pattern.
A little bit of a modern take on the original Frankenstein’s Bride with a spooky twist. I am absolutely obsessed with how she came out. I was a little worried that her hair wasn’t big enough but thank fully it has just the right amount of volume. I feel so lucky to have had these perfect green shades in my stash to work with because the thought of having to shop around for the perfect green shades would send me into a massive crashout, lol.
But thankfully all crashouts were avoided and the finished piece came out as beautifully as I hoped it would. As always if you have any questions about the pattern please leave those down in the comments or dm me directly on instagram. Don’t forget to tag my in all of your beautiful projects so I can see them all @loveandstitchh. Happy Crocheting!
This post contains affiliate links that support the content on LoveandStitchDesign.com. Each affiliate link has a * beside it. All opinions are my own. Find more information about affiliate links, as well as my Privacy & Disclosures Policy here. Thank you for your support!
Pin It For Later
Interested in the pattern and want to save it for later? You can use my Pinterest pin by clicking here or the image below.
Copyright @ Love & Stitch LLC 2025. No part of this document may be reproduced or transmitted in any form by any means, electronic, mechanical, photocopying, or otherwise, without prior written permission from the author. Sales of finished products are permitted, but the designer requests that you link back to the pattern and credit Love & Stitch with the original design. If you have any questions, comments or concerns please contact loveandstitch@outlook.com.
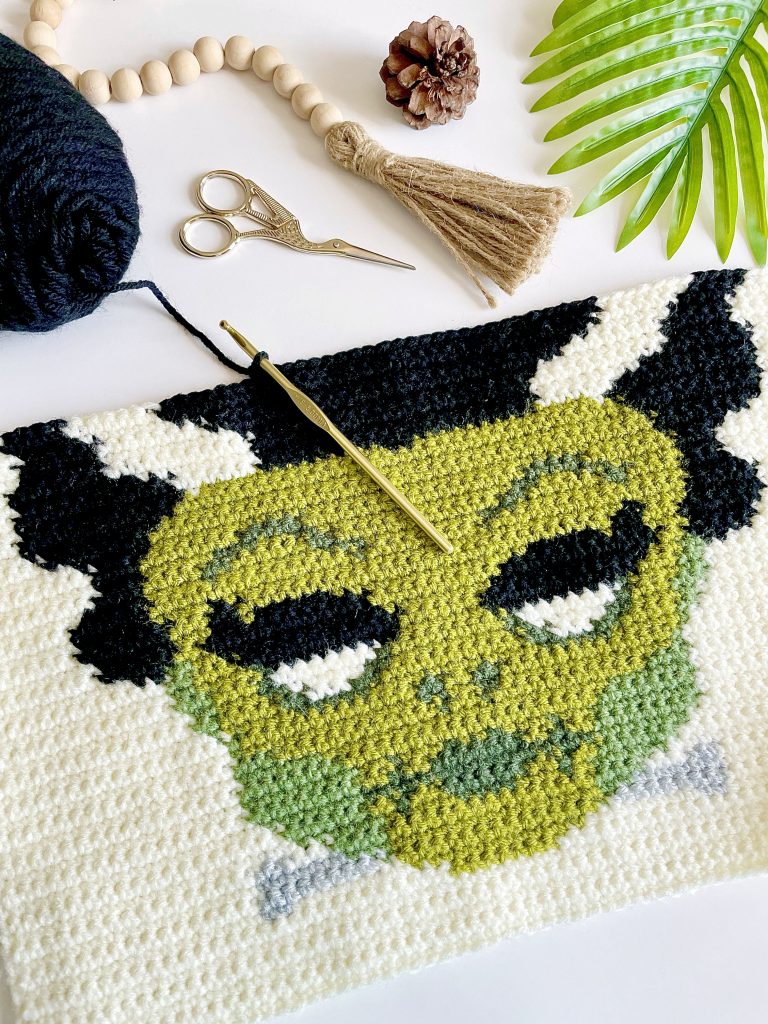
You can purchase the Printable PDF on Etsy here! The PDF includes the complete step-by-step pattern so you can follow along on paper, highlighting and making notes as needed. It is a total of 11 pages, including the front and back cover pages. I’ve also included a PDF download of the chart for this pattern.
Materials
Weight 4 Worsted Weight Yarn (yarn I used is listed below)
Wooden Branch or *Dowel Rod
Yarn Choice
For most of my wall hanging patterns I prefer to use a thicker and tighter spun worsted weight yarn. I feel like it gives a lot more definition to the piece and details tend to stand out more. I really don’t focus too much on the texture of the yarn because I steam every single one of my wall hangings, which softens the piece and makes it more flexible and flowy. This is especially helpful for tighter crocheters. The brands I tend to gravitate the most towards are Red Heart Super Saver, Loops & Threads Impeccable and We Crochet Brava Worsted.
For this wall hanging I used the following yarn:
-We Crochet Brava Worsted in White- approx. 150 yards
-We Crochet Brava Worsted in Silver- approx. 5 yards
-We Crochet Brava Worsted in Avocado- approx. 50 yards
-We Crochet Brava Worsted in Dublin- approx. 30 yards
-We Crochet Brava Worsted in Hunter- approx. 10 yards
-We Crochet Brava Worsted in Black- approx. 120 yards
Color Abbreviations
W = White
S = Silver
A = Avocado
D = Dublin
H = Hunter
B = Black
Stitch Key (US Terms)
Ch = Chain
St/sts = Stitch(es)
Sc = Single Crochet
Special Notes
-The wall hanging is worked in rows.
-The wall hanging is worked from the bottom up.
-The 1st st of each row should be placed into the same stitch as the turning chain.
-The turning chain does not count as the 1st stitch of the row.
-The pattern is written as: # of single crochet stitches (color abbreviation), example: 8 (W) means 8 sc in White.
-The odd rows are the right side rows. Even rows will be the wrong side.
Dimensions: 16 inches wide x 15.5 inches long (not including fringe)
Gauge: 16 sts x 19 rows = 4 inch square worked in single crochet.

Color Changing
Want to learn how to do a seamless color change? Click here or the image below for the link to my YouTube channel. There you will find tutorials on tapestry, cut & tie and intarsia color changing methods.

Pattern
If you would rather follow a written pattern than a chart I have a printable download available in my
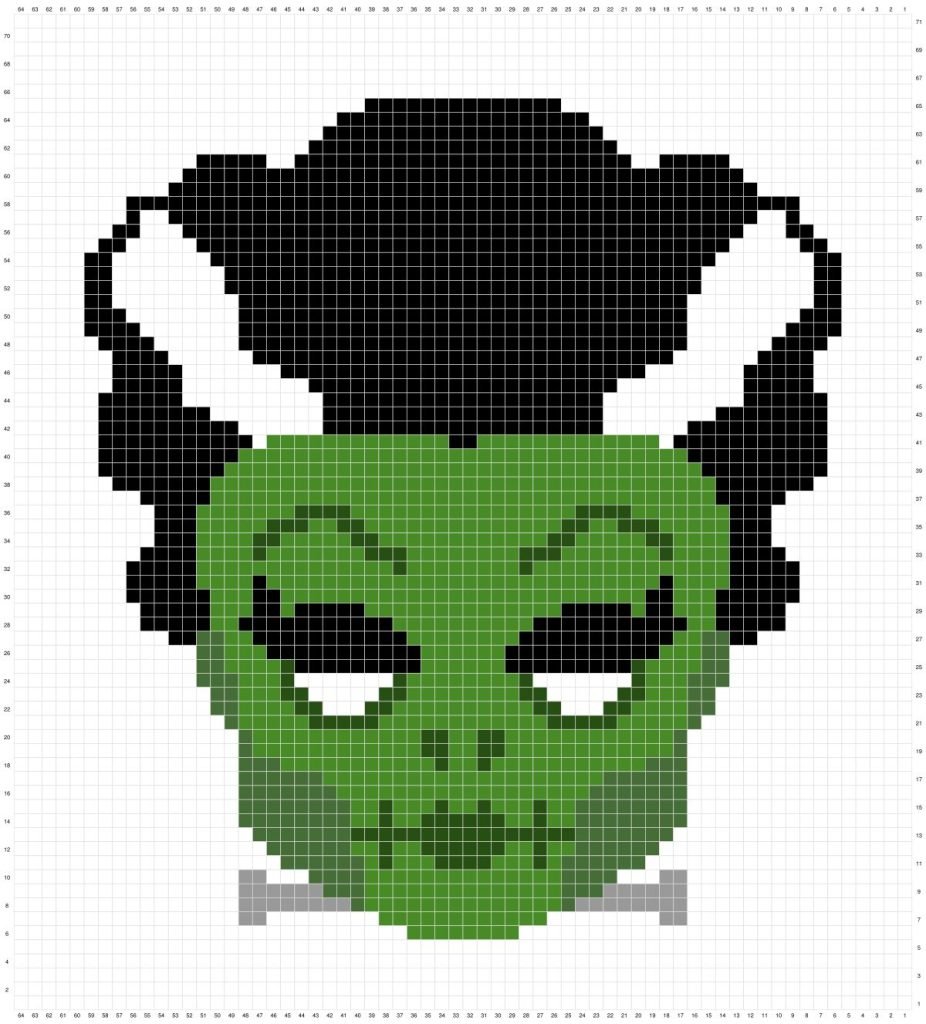
Etsy shop that includes both the written pattern and chart. For this free online pattern a printable version of the FrakenBride Chart is available for download. A link for how to follow a pixel chart will be linked down below.
Begin by chaining 65 in White.
Row 1: sc in 2nd chain from hook and in each chain across. Ch 1, turn. (64)
Row 2 – Row 5: sc in each st across. Ch 1, turn. (64)
Row 6: 28 (W), 8 (A), 28 (W). Ch 1, turn. (64)
Row 7: 16 (W), 2 (S), 8 (W), 12 (A), 8 (W), 2 (S), 16 (W). Ch 1, turn. (64)
Row 8: 16 (W), 8 (S), 1 (D), 14 (A), 1 (D), 8 (S), 16 (W). Ch 1, turn. (64)
Row 9: 16 (W), 6 (S), 3 (D), 14 (A), 3 (D), 6 (S), 16 (W). Ch 1, turn. (64)
Row 10: 16 (W), 2 (S), 3 (W), 4 (D), 14 (A), 4 (D), 3 (W), 2 (S), 16 (W). Ch 1, turn. (64)
- Follow the chart until you reach Row 71.
How To Follow a Crochet Pixel Chart
If you need some help following a crochet pixel chart or need a refresher I have a video tutorial on my YouTube channel. Click Here or the image below to check it out.
Hanging the Project
- Fasten off after Row 71 leaving a 4 foot tail.
To attach the project to a dowel rod or tree branch; using a yarn needle, weave the tail over the dowel/branch and back under into the 1st stitch on the top of the wall hanging.
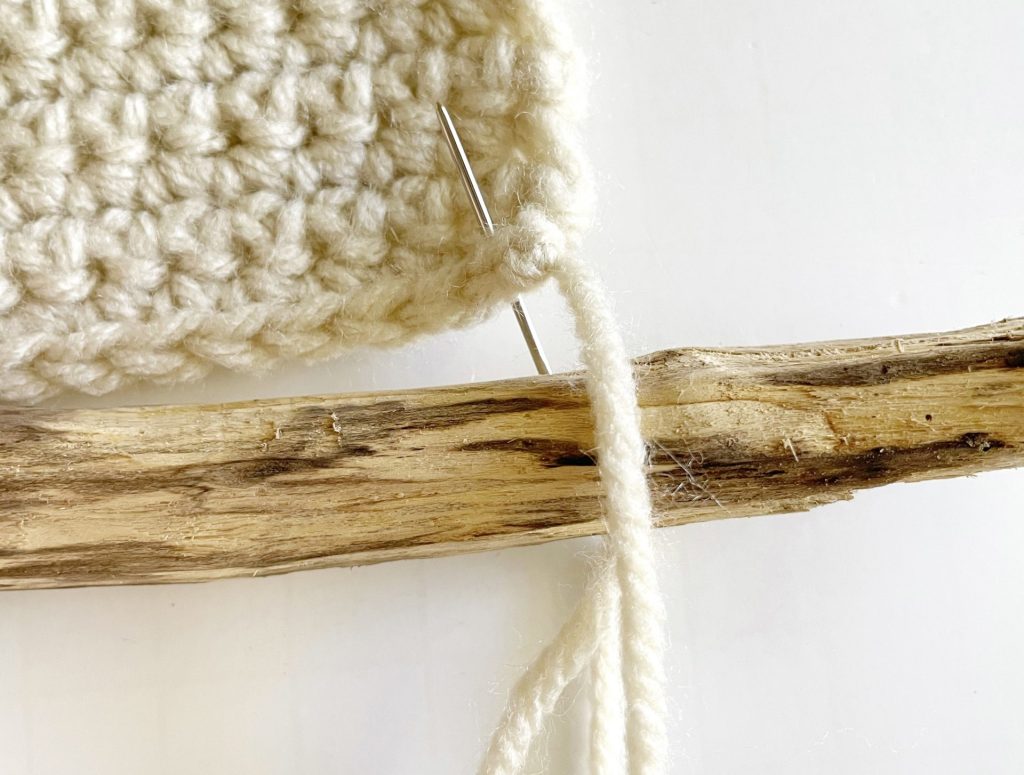

Repeat for each stitch on the top of the wall hanging.
Knot off and weave in your ends.

To hang the project, drill 2 small holes on either side of the branch/dowel. Thread through both holes with cotton yarn and knot off both ends. Trim the excess yarn. (Feel free to use your preferred method of hanging the project)
Attaching the Fringe
To attach the fringe, grab 3 strands of yarn. With a crochet hook, push the hook through the far left foundation chain. Fold the 3 strands of yarn in half, looping the middle of the strands onto the crochet hook.

Fold strands through the loop.

Tighten to create the fringe.

Repeat for every other foundation chain. Steam and trim the fringe for a more clean appearance.

For more crochet wall hanging patterns click here!


You May Also Like

The Home for the Holidays Wall Hanging Crochet Pattern

The Big Ole Snippers Wall Hanging Crochet Pattern
