

The Love Me Knot Pillow Crochet Pattern
Hey Guys!
Do you love making granny squares? How about 132 granny squares? Okay, they are mini ones but still! Well, if you answered yes to all of the above then you are going to love the Love Me Knot Pillow crochet pattern.
Constructed from 132 mini granny squares, the love me knot pillow is a fun and creative way to make a pillow without have to work the tapestry crochet method by carrying multiple yarns for color changing. Instead, this pillow is constructed by seaming together mini squares in the design of a heart, following a chart for reference.
Although there is a lot of work that goes into making this pillow it is so worth it! Because the squares are seamed together this pillow will stand the test of time. Don’t be surprised if the pillow goes missing because someone will surely become obsessed with it and sneak it out of the house. Not like my own sister did that or anything, lol.
As always if you have any questions about the pattern please leave a comment below or dm me on Instagram @loveandstitchh. Also, don’t forget to tag me in all of your beautiful projects. Happy Crocheting!
This post contains affiliate links that support the content on LoveandStitchDesign.com. Each affiliate link has a * beside it. All opinions are my own. Find more information about affiliate links, as well as my Privacy & Disclosures Policy here. Thank you for your support!
Pin It For Later
Interested in the pattern and want to save it for later? You can use my Pinterest pin by clicking here or the image below.

Copyright @ Love & Stitch LLC 2025. No part of this document may be reproduced or transmitted in any form by any means, electronic, mechanical, photocopying, or otherwise, without prior written permission from the author. Sales of finished products are permitted, but the designer requests that you link back to the pattern and credit Love & Stitch with the original design. If you have any questions, comments or concerns please contact loveandstitch@outlook.com.

You can purchase the Printable PDF on Etsy here! The PDF includes the complete step-by-step pattern so you can follow along on paper, highlighting and making notes as needed. It is a total of 11 pages, including the front and back cover pages. I’ve also included a PDF download of the chart for this pattern.
Materials
Weight 4 Worsted Weight Yarn (yarn I used is listed below)
Yarn Choice
For this pattern I chose to go with a worsted weight acrylic yarn. I find that this yarn is the easiest to work with, especially for beginners, and also does well for patterns that will be prove to wear and fraying, such as a pillow. .The brands I tend to gravitate the most towards are Red Heart Super Saver, Loops & Threads Impeccable and We Crochet Brava Worsted.
For this wall hanging I used the following yarn:
-Loops & Threads Impeccable in Aran- approx. 195 yards
-Loops & Threads Impeccable in Burgundy- approx. 85 yards
-Loops & Threads Impeccable in Heather- approx. 280 yards
Color Abbreviations
AR = Aran
BU = Burgundy
H = Heather
Stitch Key (US Terms)
Ch = Chain
St/sts = Stitch(es)
Sc = Single Crochet
Dc = Double Crochet
Sl st = Slip Stitch
Sp = Space
Special Notes
-The pillow is made with mini granny squares.
-The mini granny squares are worked in joined rounds.
-While working the granny squares, the chain 5 counts as a double crochet, chain 2.
-When working the granny square, repeat what is between the brackets [ ] for the listed number of times.
-The pillow is constructed by seaming/crocheting the mini granny squares together.
-The front and back panels are constructed separately, then seamed together around a pillow form.
-The front panel of the pillow is seamed together referencing the graph.
-The back panel is seamed normally because each square is the same color.
Dimensions: 21 inches wide x 21 inches long (not including fringe)
Gauge: 15 sts x 18 rows = 3 inch square worked in single crochet.

Color Changing
Want to learn how to do a seamless color change? Click here or the image below for the link to my YouTube channel. There you will find tutorials on tapestry, cut & tie and intarsia color changing methods.

Pattern
I have included a chart for the front panel of this pillow to reference while seaming. This is the free online version of the chart. An ad-free printable version of this chart is available in my Etsy shop here.
MINI GRANNY SQUARE
Begin by chaining 4. Sl st to 1st chain to close the loop. Feel free to use a magic circle if you prefer.
Round 1: Ch 5. Working into the loop, [ 3 dc, ch 2] x 3, 2 dc. Sl st to 3rd ch from ch 5 at the beginning of the round. (12 dc, 4 ch 2 sp)
Round 2: Sl st into the next ch 2 sp, ch 5. [dc in next 3 sts, (2 dc, ch 2, 2 dc) in ch 2 sp] x 3. Dc in next 3 sts, dc in ch 2 sp. Sl st into 3rd ch from ch 5 in the beginning of the round. Fasten off. (28 dc, 4 ch 2 sp)

- To follow the design of the pillow as pictured you should end with the following square counts:
– 86 squares in Aran.
– 46 squares in Burgundy.
– 132 squares in Heather.
The next step is to start seaming together the squares. I have included a chart you can reference while seaming the front panel.
Seaming The Pillow
Feel free to choose your preferred method of seaming. Personally I prefer using a yarn needle but you can also slip stitch the squares together.
To construct the panels each panel is first seamed vertically, then horizontally.
Starting with the bottom right corner of the front panel, take 2 squares in Aran and place them right side facing.

Working in the back loops only, attach a 2 foot tail to the right of the squares and begin weaving/slip stitching along the edge.

When you reach the other side add 2 more sqaures, right sides facing, and continue working along the edge in the back loops only.

This is what you should be left with before moving on and adding more squares.

For now you will continue adding 2 squares at a time. Continue until you are 12 squares high. You should have 21 Aran squares and 3 burgundy squares

From here and until you reach the other side of the panel you will add 1 square at a time, making sure to follow the heart chart to maintain the design. You should end with 86 Aran squares and 46 burgundy squares.

Once you have connected all the square vertically, you will now seam them horizontally. To do this you simply have to fold each row over to match up the stitches and seam along the back loops only.

Once you finish seaming the panel you can choose to weave in the ends left over after each row or use them later on to attach the front and back panels. Note: I ended up using the tails to tie the panels together before seaming to make sure the panels were lined up correctly.

You will repeat each step for the back panel as you did for the front, with the exception of having to follow a chart. The back panel with consist of 132 squares in Heather.

Below is the chart for the front panel. Use this chart as a reference for seaming together the squares for the front panel.

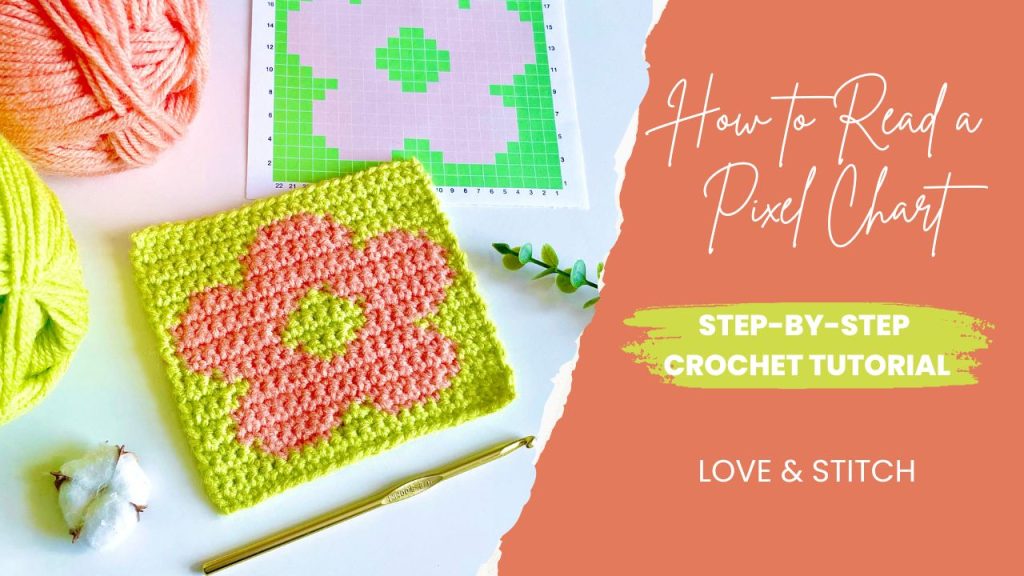
How To Follow a Crochet Pixel Chart
If you need some help following a crochet pixel chart or need a refresher I have a video tutorial on my YouTube channel. Click Here or the image below to check it out.
Constructing The Pillow
- The pillow is first seamed with the pillow inside out. The pillow will then be flipped outside right before inserting the pillow form and seaming the top closed.
Once both panels are finished, place the right sides of the panels facing each other.

As I mentioned before, I used the ends from seaming the squares to connect the panels together. This just made seaming easier with the panels already lined up.

Working along the right, bottom and left sides only, begin seaming the panels together in the back loops only. Be sure to leave the top of the pillow open.

Flip the connected panels right side out and insert the pillow form. Again, using the ends from weaving together the squares, tie the ends from the front and back panels together.

Using a 2 foot tail and working from right to left, weave the top of the pillow closed working in the back loops only. Fasten off and weave in your remaining tails.

Optional: To give your project a more polished and completed look give the piece a good fluff and stretch so the pillow cover lays evenly over the pillow form.
ENJOY!

For more crochet wall hanging patterns click here!


You May Also Like

The Celestial Wall Hanging Crochet Pattern

The Chunky Plaid Mug Rug Crochet Pattern
