

The Cherry Blossom Bolster Pillow Crochet Pattern
Hi Friends!
You know what time it is! Time for a fun new pattern and this one is sure to spark your creativity. This is the first pattern like this I have ever done and I am so excited to share it with you guys. Introducing the Cherry Blossom Bolster Pillow crochet pattern. Man that’s a mouthful!
Like the thickness of the name this pillow is full bodied and ready to be the new staple to your home decor. If you are like me and you love cherry blossoms and look forward to them blooming every year this is the pattern for you.
I knew I wanted to design a pattern with cherry blossoms and I knew it wanted to be a pillow pattern but the thought of designing a traditional square or rectangular pillow didn’t really stand out to me. So after a few trial and errors, and maybe a few colorful words we have the cutest bolster pillow.
Before I go on and on about every thought process behind every inch of this new pillow design I will let you all get going on the pattern. As always please comment and questions you might have or send me a dm on Instagram. Happy Crocheting!

This post contains affiliate links that support the content on LoveandStitchDesign.com. Each affiliate link has a * beside it. All opinions are my own. Find more information about affiliate links, as well as my Privacy & Disclosures Policy here. Thank you for your support!
Pin It For Later
Interested in the pattern and want to save it for later? You can use my Pinterest pin by clicking here or the image below.

Copyright @ Love & Stitch LLC 2025. No part of this document may be reproduced or transmitted in any form by any means, electronic, mechanical, photocopying, or otherwise, without prior written permission from the author. Sales of finished products are permitted, but the designer requests that you link back to the pattern and credit Love & Stitch with the original design. If you have any questions, comments or concerns please contact loveandstitch@outlook.com.

You can purchase the Printable PDF on Etsy here! The PDF includes the complete step-by-step pattern so you can follow along on paper, highlighting and making notes as needed. It is a total of 11 pages, including the front and back cover pages. I’ve also included a PDF download of the chart for this pattern.
Materials
Weight 4 Worsted Weight Yarn (yarn I used is listed below)
Stuffing – either from an old pillow or *Poly-fil
*Hand Steamer (optional)
Yarn Choice
For most of my wall hanging patterns I prefer to use a thicker and tighter spun worsted weight yarn. I feel like it gives a lot more definition to the piece and details tend to stand out more. I really don’t focus too much on the texture of the yarn because I steam every single one of my wall hangings, which softens the piece and makes it more flexible and flowy. This is especially helpful for tighter crocheters. The brands I tend to gravitate the most towards are Red Heart Super Saver, Loops & Threads Impeccable and We Crochet Brava Worsted.
For this pattern I used the following yarn:
-Loops & Threads Impeccable in Eggplant, approx. 10 yards
-Loops & Threads Impeccable in Rich Orchid, approx. 45 yards
-Loops & Threads Impeccable in Soft Rose, approx. 80 yards
-Loops & Threads Impeccable in Chocolate Brown, approx. 90 yards
-Loops & Threads Impeccable in Guacamole, approx. 50 yards
-Loops & Threads Impeccable in Aran, approx. 250 yards
Color Abbreviations
E = Eggplant
RO = Rich Orchid
SR = Soft Rose
CB = Chocolate Brown
G = Guacamole
AR = Aran
Stitch Key (US Terms)
Ch = Chain
St/sts = Stitch(es)
Sc = Single Crochet
Special Notes
-The main body of the pillow is worked in rows.
-The main body is worked from the bottom up.
-The 1st st of each row should be placed into the same stitch as the turning chain.
-The turning chain does not count as the 1st stitch of the row.
-The pattern is written as: # of single crochet stitches (color abbreviation), example: 8 (P) means 8 sc in Putty.
-The odd rows are the right side rows. Even rows will be the wrong side.
-The side panels of the pillow are worked in continuous rounds and are attached after finishing the main body.
Dimensions: 8 inches wide x 15 inches long x 24 inches around
Gauge: 16 sts x 19 rows = 4 inch square worked in single crochet.

Color Changing
Want to learn how to do a seamless color change? Click here or the image below for the link to my YouTube channel. There you will find tutorials on the tapestry, cut & tie and intarsia color changing techniques.
Pattern
If you would rather follow a written pattern than a chart I have a download available in my Etsy shop that includes both the written pattern and the chart. For this free online pattern a printable version of the Cherry Blossom Pillow Chart are available for download. A link for how to follow a pixel chart as well as how to work the pattern will be linked below.
MAIN PANEL
Begin by chaining 96 in Chocolate Brown.
Row 1: Working in the foundation chain, 3 (CB), 92 (AR). Ch 1, turn. (95)
Row 2: 89 (AR), 5 (CB), 1 (AR). Ch 1, turn. (95)
Row 3: 2 (AR), 7 (CB), 51 (AR), 2 (RO), 33 (AR). Ch 1, turn. (95)
Row 4: 5 (AR), 5 (G), 5 (AR), 4 (G), 13 (AR), 2 (RO), 2 (SR), 48 (AR), 6 (CB), 5 (AR). Ch 1, turn. (95)
Row 5: 8 (AR), 7 (CB), 41 (AR), 2 (RO), 1 (AR), 3 (SR), 1 (RO), 1 (AR), 2 (RO), 10 (AR), 5 (G), 3 (AR), 6 (G), 5 (AR). Ch 1, turn. (95)
- Work the remaining rows following the Cherry Blossom Pillow chart. When you finish the main panel, leave a tail long enough for seaming.

Wan to follow the video tutorial? Click here or the image below!

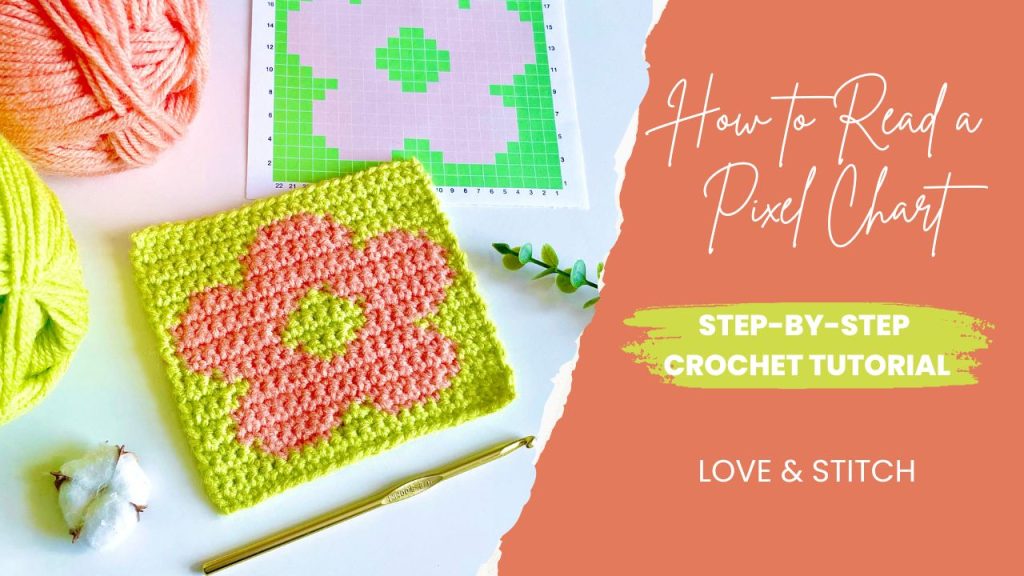
How to Follow a Crochet Pixel Chart
If you need some help following the crochet pixel chart or need a refresher I have a video tutorial on YouTube. Click here or the image below to check it out!
Crocheting the Side Panels (Make 2)
Begin with a magic circle or chain 4 and slip stitch to 1st chain.
Round 1: 6 sc in the ring. (6)
Round 2: Inc around. (12)
Round 3: (inc, sc) x 6. (18)
Round 4: (sc, inc, sc) x 6. (24)
Round 5: (inc, 3sc) x 6. (36)
Round 6: (2sc, inc, 2sc) x 6. (42)
Round 7: (inc, 5sc) x 6. (42)
Round 8: (3sc, inc, 3sc) x 6. (48)
Round 9: (inc, 7sc) x 6. (54)
Round 10: (4sc, inc, 4sc) x 6. (60)
Round 11: (inc, 9sc) x 6. (66)
Round 12: (5sc, inc, 5sc) x 6. (72)
Round 13: (inc, 11sc) x 6. (78)
Round 14: (6sc, inc, 6sc) x 6 (84)
Round 15: (inc, 13sc) x 6. (90)
Round 16: (7sc, inc, 7sc) x 6. (96)
- Leave a 2 foot tail to seam side panel to the main body.
Seaming the Main Body
Begin by folding the main body so that the wrong side is facing using and both sides of the pillow line up.

Using the tail left over from the main body and a yarn needle, begin seaming both sides of the main body of the pillow together.


Continue seaming until the main body is completely seamed together.
-NOTE: There may be enough of tail left to use to attach one of the side panels.
Attaching the Side Panels/ Stuffing the Pillow
Begin by lining up one side panel of the pillow to the main body and pass through both panels with a yarn needle to mark where the seaming will start. Make sure both main and side panels have the wrong side facing you.
- Continue weaving the tail from the side panel through the stitches on both panels until you reach the end. Fasten off, weave in your ends and turn the pillow so the right ride is facing you.

- At this point you can begin stuffing the pillow. Stuff and mold as you go until you reach your desired shape. Stuff until you have pretty much filled the entire pillow.
- Take the second side panel (right side facing you) and line it up to the main panel. Follow the same steps as the previous side panel but leave a 2 inch opening before fastening off.

- Finish stuffing the pillow and then finish seaming up the second side panel to the main body. Fasten off and weave in your ends.

To help with the molding of the pillow give it a good steam, mold it to your desired shape and leave it overnight to dry. ENJOY!
For more free crochet patterns click here!


You May Also Like

The Where Is My Mummy Wall Hanging Crochet Pattern

The Pleasant Pumpkin Wall Hanging Crochet Pattern
